 |
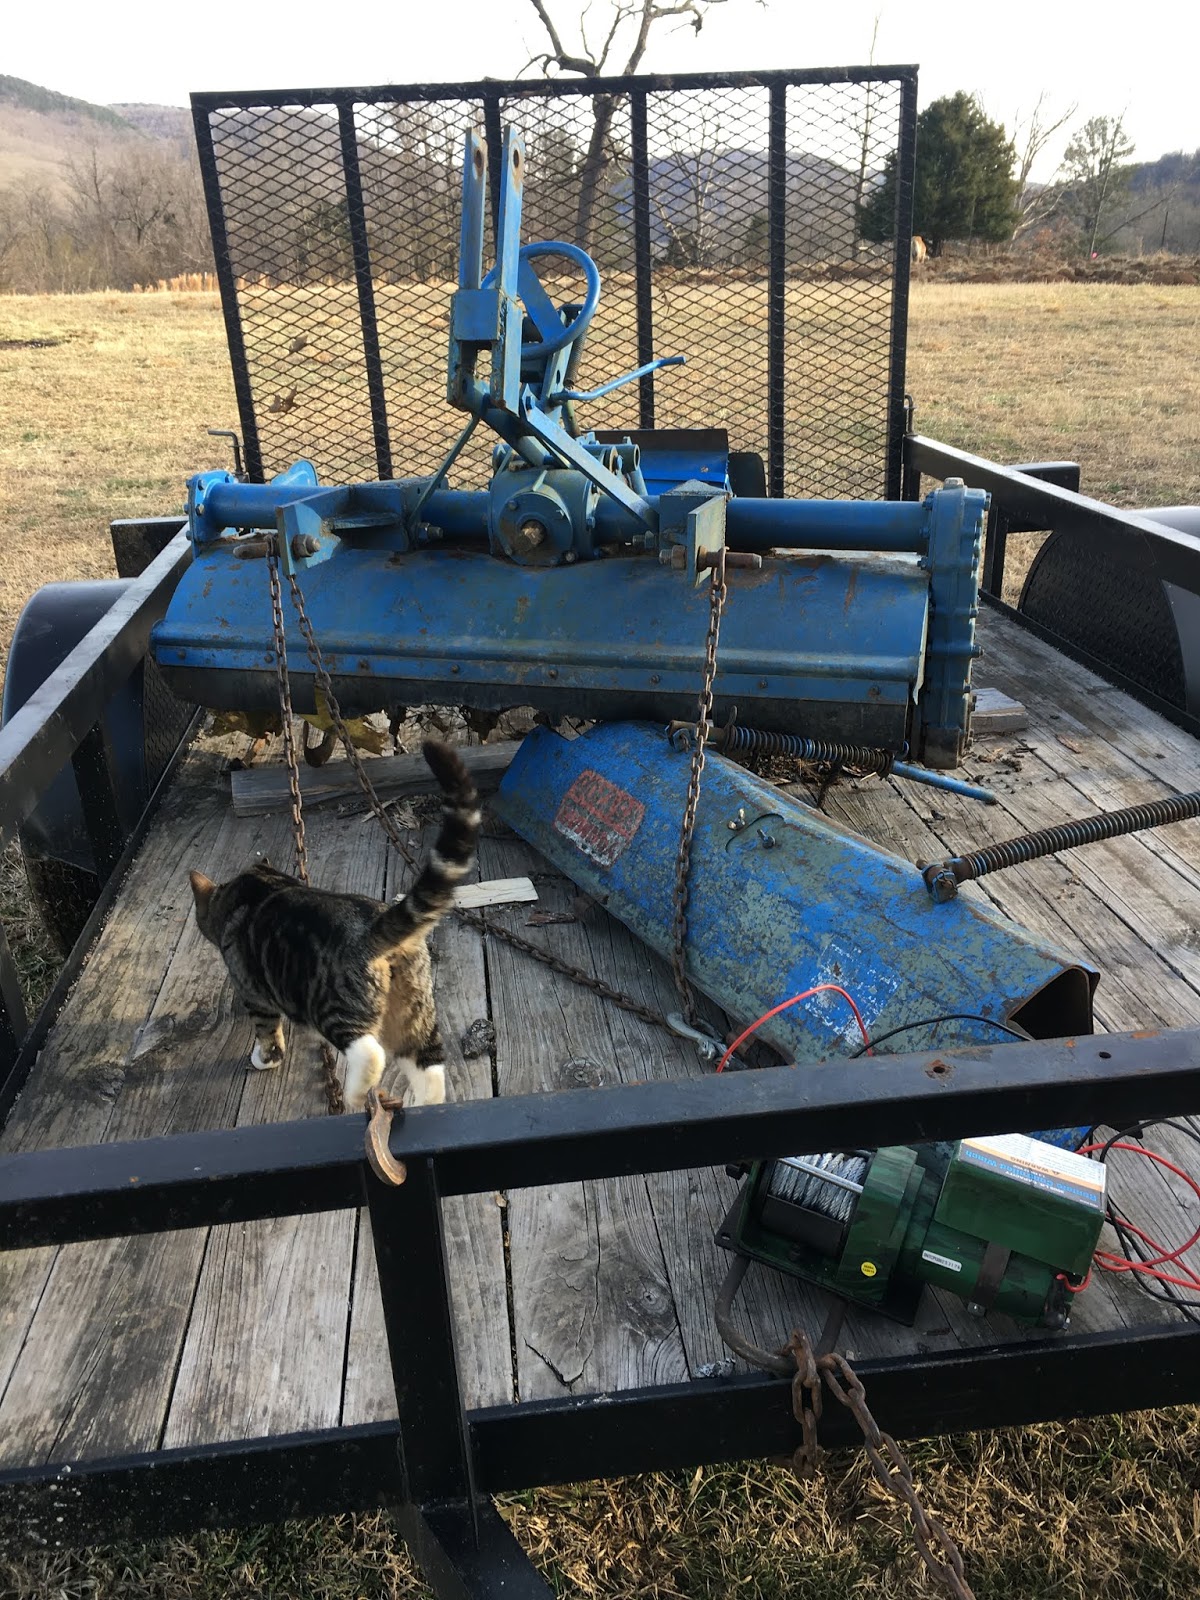
| Daisy Mae inspecting |
 |
| Unloading with my tractor. Hey, colors match! |
 |
| Resting till I get tines replaced. |
Now... since it's a small town and people talk, a Facebook friend said he had an old 4' Chinese made tiller that wasn't a 3 point but had tines he believed were the same as the ones on my Yanmar. I removed one of the few remaining tines, brought it to his daughter who works at the one grocery store in town and she took it home to him where he confirmed they and the bolt sizes were identical! With that said, he said I could buy his tiller for $50. He will be delivering it to me this week plus a cultivator I can borrow to remove the rocks from the garden plot before I till. All said and done, I should have about $150 into a working tiller. Can't wait to get the tines bolted on, the gearbox filled and hooked up to the tractor. This will make life much easier. I'll put a post up of the outcome in the next week or two when I get it hooked up and running.
The two pictures below is the shaft when I got it. I had to grind off a couple burrs and some rust before I could even connect the two pieces, but with a lot of grease it slides in and out like new!


Following is the shaft connected, greased and with the new bearing installed in the U joint. It's ready to rock!


I like the way you put your everything into a job.
ReplyDeleteThank you!! I'm quite frustrated on another subject I can't seem to remedy. Facebook (and Instagram cause it's owned by Facebook) have blocked me from sharing my blog due to "inappropriate content that doesn't meet their community standards". What?
ReplyDeleteOk , you are officially amazing! What a great set of skills you already have. It sounds like you landed in the perfect spot having so many people around that you can draw more knowledge & equipment from. I hope you keep blogging here!
ReplyDeletehi!! well, i am so bummed because shortly after this facebook blocked me from being able to share my posts saying the blog went against "community standards". unbelievable. i have just now started up a new one and when a get a couple posts up i'll give you the link. hope winter is going well for you!!
ReplyDeleteNo till method works best
ReplyDeleteNormally, I would agree but when you're working with virgin ground that has a lot of clay it has to be tilled initially. Thanks for the suggestion!
Delete